Homemade Rice Krispies Treats
- Jacqui Brooks
- Apr 4
- 3 min read
Updated: Apr 4
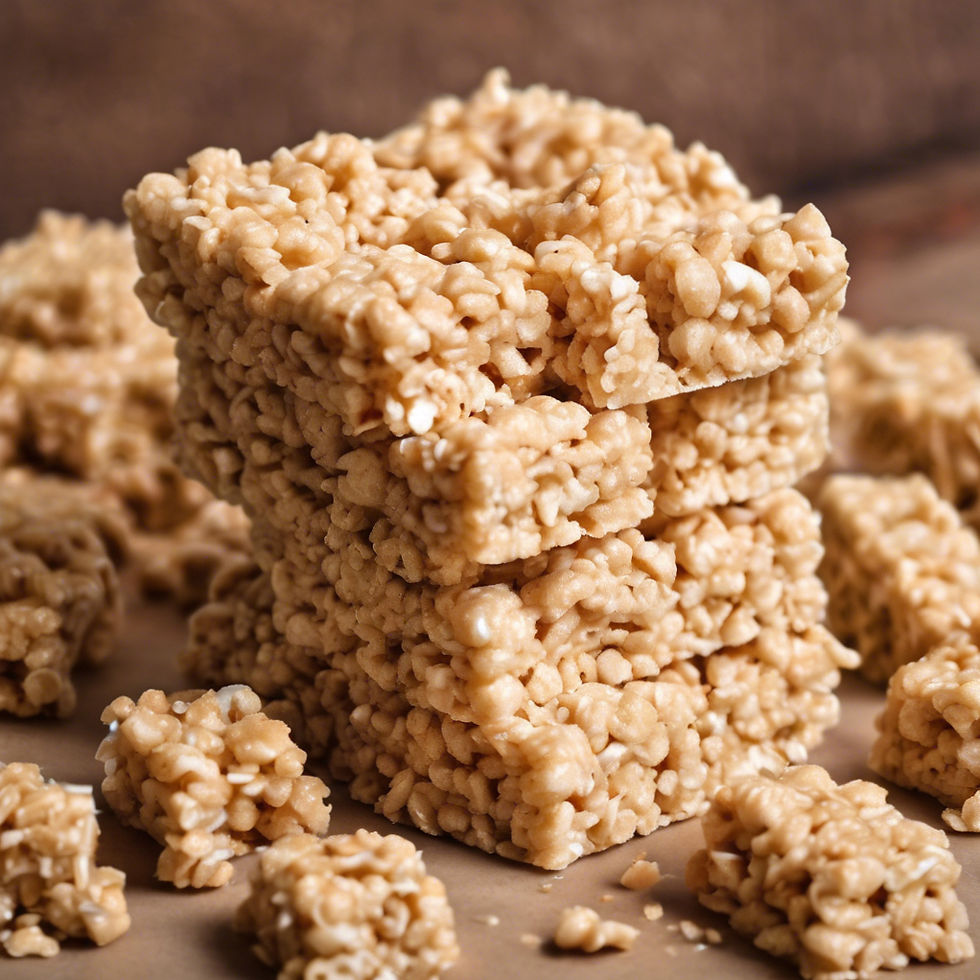
There are few things in life as simple and delightful as the crispy, gooey goodness of a Rice Krispies Treat. Whether you made them with your parents as a child, or you’ve discovered the joy of these sweet, crunchy snacks as an adult, they’ve always had a way of making life just a little sweeter. And while the store-bought versions are tasty, there's something extra special about making them yourself at home.
Why Homemade Rice Krispies Treats?
Sure, you can grab a box from the store, but where’s the fun in that? Making them at home lets you take full control of the flavor and texture, and the best part? You get to enjoy them fresh out of the pan while they're still warm and gooey. Homemade treats have that homemade touch, after all. Plus, this is an incredibly easy recipe that requires no baking, just a little stirring and a bit of patience.
Not to mention, this simple recipe is perfect for kids to help with—measuring, mixing, and of course, sneaking a bite of marshmallow when you’re not looking. Trust me, the joy is in the process as much as it is in the result.
A Little Rice Krispies History
Did you know that Rice Krispies Treats have been around for more than 80 years? Created by Kellogg’s in 1939, these crispy squares were originally featured on the back of a Rice Krispies box, and the recipe quickly became a classic. In fact, many of us probably remember making them in school kitchens or at family gatherings. They’re practically a rite of passage in the world of simple baking!
But no matter how long they've been around, Rice Krispies Treats remain just as beloved as ever. From birthday parties to potlucks, these little squares are always a hit. So why not bring a little nostalgia back to your kitchen with a homemade batch?

The Secret to Perfect Rice Krispies Treats: Use Fresh Marshmallows!
Here’s a quick tip that will elevate your Rice Krispies Treats to the next level: Use fresh marshmallows!
While it may seem like a minor detail, the quality of the marshmallows you use can make a big difference. Fresh marshmallows melt more easily, creating a smoother, creamier texture for your treats. Stale marshmallows, on the other hand, can be harder to melt, which may result in a grainier, drier treat. So before you start, check the date on your marshmallows—or better yet, grab a new bag for the freshest, gooey goodness!
The Perfect Rice Krispies Treats Recipe
Ready to make your own batch of crispy, gooey goodness? Let’s get to it! This recipe requires only four simple ingredients and a bit of patience. Here's how you do it:
Ingredients
3 tablespoons unsalted butter
1 package (10 oz) mini marshmallows (about 40 marshmallows)
6 cups Rice Krispies cereal
A pinch of salt (optional, but it enhances the flavor)
Directions
Prep Your Pan: Begin by greasing a 9x13-inch baking dish with butter or cooking spray. If you want to make clean-up easier, line it with parchment paper, leaving an overhang on the sides.
Melt the Butter: In a large pot or saucepan, melt the butter over low heat. Stir occasionally to prevent it from browning. Once the butter is melted, add the marshmallows.
Melt the Marshmallows: Stir the marshmallows into the butter until they’re completely melted and smooth. If you want to get a bit creative, this is the stage where you can add a pinch of salt or even a splash of vanilla extract for extra flavor.
Mix in the Cereal: Once the marshmallows are melted, remove the pan from the heat and quickly stir in the Rice Krispies cereal. The mixture will be sticky, so make sure to fold it gently, ensuring all the cereal is coated evenly.
Transfer to the Pan: Pour the mixture into your prepared baking dish and, using a spatula or your hands (dampened with water to avoid sticking), press the mixture into the pan. You want them to be nice and even, but don’t press too hard – you still want some air in between the cereal for that perfect crunch.
Let Them Set: Allow the treats to cool at room temperature for about 30 minutes to an hour. Once they’ve set, cut them into squares (or rectangles, if you prefer larger pieces) and enjoy!
Commenti